Need a ride but don’t want to drive? Uber and Lyft are easy-to-use apps that can quickly get you where you need to go — whether it’s a doctor’s appointment, a lunch outing, or a trip to the airport. Here’s a beginner-friendly guide to help you request a ride with confidence.
✅ Step 1: Download the App
Start by downloading either the Uber or Lyft app (or both) to your smartphone:
- iPhone users: Open the App Store
- Android users: Open the Google Play Store
Search for “Uber” or “Lyft” and tap Download or Install.
✅ Step 2: Create an Account
Once installed, open the app and:
- Enter your name, phone number, and email
- Create a secure password
- Add a payment method (credit card, debit card, or digital wallet like Apple Pay)
You may be asked to enter a verification code sent to your phone.
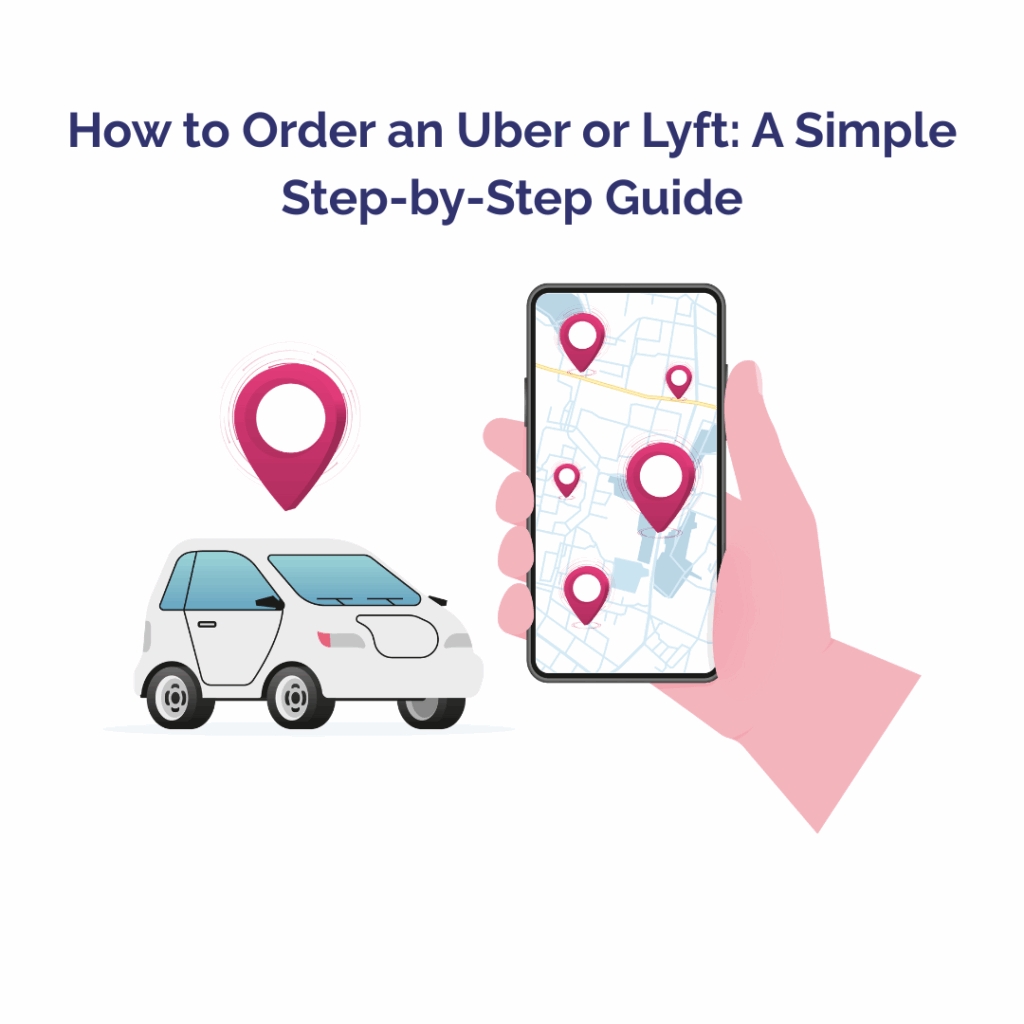
✅ Step 3: Enter Your Pickup Location
The app will usually detect your location automatically using GPS. If not, you can manually type your pickup address.
Tip: If you’re requesting a ride for someone else, you can change the pickup location to their address.
✅ Step 4: Choose Your Destination
In the “Where to?” box, type in the address or name of your destination (e.g., “Tucson Medical Center” or “123 Main St”).
✅ Step 5: Pick Your Ride Option
You’ll see different ride types depending on what’s available:
- UberX / Lyft: Standard and most affordable option
- Comfort / Preferred: More legroom or newer car
- XL: For groups (more seats)
- Assist / WAV (Uber): For riders who need extra help or wheelchair-accessible vehicles
Choose the one that best fits your needs.
✅ Step 6: Confirm and Request Your Ride
Check the estimated fare, then tap “Confirm” or “Request Ride.”
The app will show:
- Your driver’s name and photo
- The make and color of the car
- The license plate number
- The estimated arrival time
✅ Step 7: Wait for Your Ride
You can track the car in real time on the map. Be ready outside or at your specified location when the driver arrives.
Tip: Always double-check the license plate before getting in the car.
✅ Step 8: Enjoy the Ride
Once in the car, relax! The driver already knows your destination and will take you there using the app’s GPS.
✅ Step 9: Pay and Rate
When the ride ends:
- Payment happens automatically through the app
- You can rate your driver (1 to 5 stars) and leave a tip if you’d like
💬 Bonus Tips
- Need help ordering a ride? A friend or family member can request one for you from their phone and set your location.
- Prefer not to use a smartphone? Some third-party services can help book rides for seniors by phone (e.g., GoGoGrandparent).
- Safety first: Always verify the driver and vehicle before getting in. Sit in the back seat when possible and wear your seatbelt.
Rideshare services like Uber and Lyft can offer convenience, independence, and flexibility — especially when driving isn’t the best option. Once you get the hang of it, ordering a ride can be as easy as sending a text.


2 Responses
Thanks! I never had to use one of these ride services before and this step-by-step guide is just what I needed.
Great Mercury! We’re glad you found this helpful!